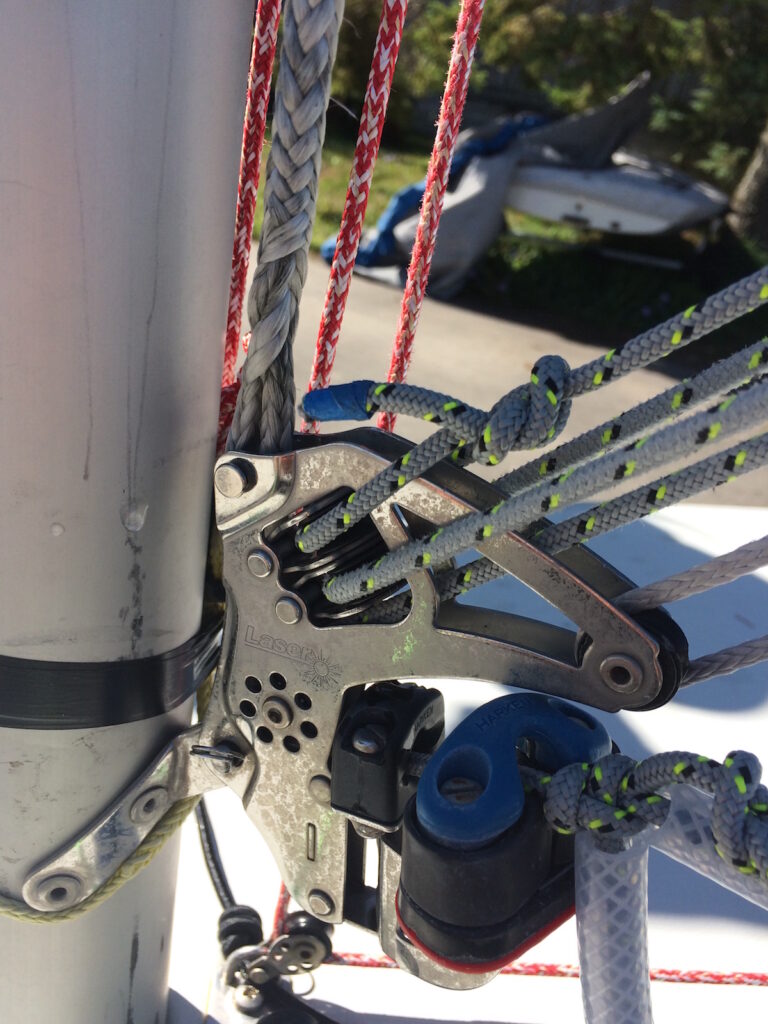
The Laser MKII sail brings many new changes with it and in this article, we will discuss a rigging system for the cunningham system to allow you to use the control to its full capacity. The increased weight of the new sailcloth makes applying the cunningham more resistant as compared to the MKI sail, therefore the conventional rigging system will need to be updated.
The change in the rigging is going to be the additional purchases added to the system. The popular 6:1 purchase used on the MKI sail proved to be powerful enough to pull the grommet to the boom and allowed minimal slack of the control line in the cockpit. The MKII will require an 8:1 purchase and due to the higher position of the grommet on the sail one will not be able to pull it down to the boom.
The increased weight of the new sailcloth makes applying the cunningham system more resistant as compared to the MKI sail
Starting with the cunningham primary line we will attach it to the top of the vang on the removable pin (the line is spliced in photos but bowline knot is sufficient). Taking the line-up and passing it through the grommet we will then attach the first block (we recommend the Harken T2 block or similar style pulleys, in total, you will need three for this system). The block should be as close to the grommet as possible without putting any tension on the luff of the sail when it is “max off” setting, this will ensure you have the full ability to put on as much cunningham as necessary.
Secondly, we will attach a second T2 block below the one that is fastened to the cunningham primary line. The knot used to fasten the two blocks together is found on the packaging and is referred to as a “soft attach”.
The final block attachment takes place at the bottom of the mast directly below the vang tang fitting. In order to make it as tight as possible to the mast, one end is spliced to the block and the other end has a loop. After going around the mast feed the block through the loop creating soft shackle. Again, splicing is not necessary but makes for a tight fit and a clean look, and is also stronger than a knot.
 From here attach the cunningham secondary line (with either a splice or a bowline) through the eye of the block attached below the vang tang. Then taking the line-up and feeding it through the front side (facing towards the bow) of the bottom block on the cunningham primary, then back down to the vang tang block, up through the top block and then home to the deck blocks. This may require a few attempts to make it look straight but should be worked out quite easily.
Having tried a few different rigging systems with the new sail we landed on this one as the most effective and clean. Due to the extra purchase in the system, there is an extra line that will float around in the cockpit but this system will help minimize the clutter and allow you to get as much of that powerful cunningham system as you need!